
Search, Clone, or Modify an Application
May 2022
Table of Contents
- Access CECATS or CDNE Portal
- Search for an Application
- Clone an Application
- Modify an Application Step 1: Modify the Application based on a notification received
- Modify an Application Step 2: Update the Number of Certificates
- Modify an Application Step 3: Cancel the Application
1 Access CECATS or CDNE Portal
Log into the FDA Industry Systems (FIS) https://www.access.fda.gov and select "CDRH Export Certification Application & Tracking System (CECATS)" from the list of systems available on the FURLS Home page as shown in (Figure 1).
Figure 1: FDA Industry
Systems Page

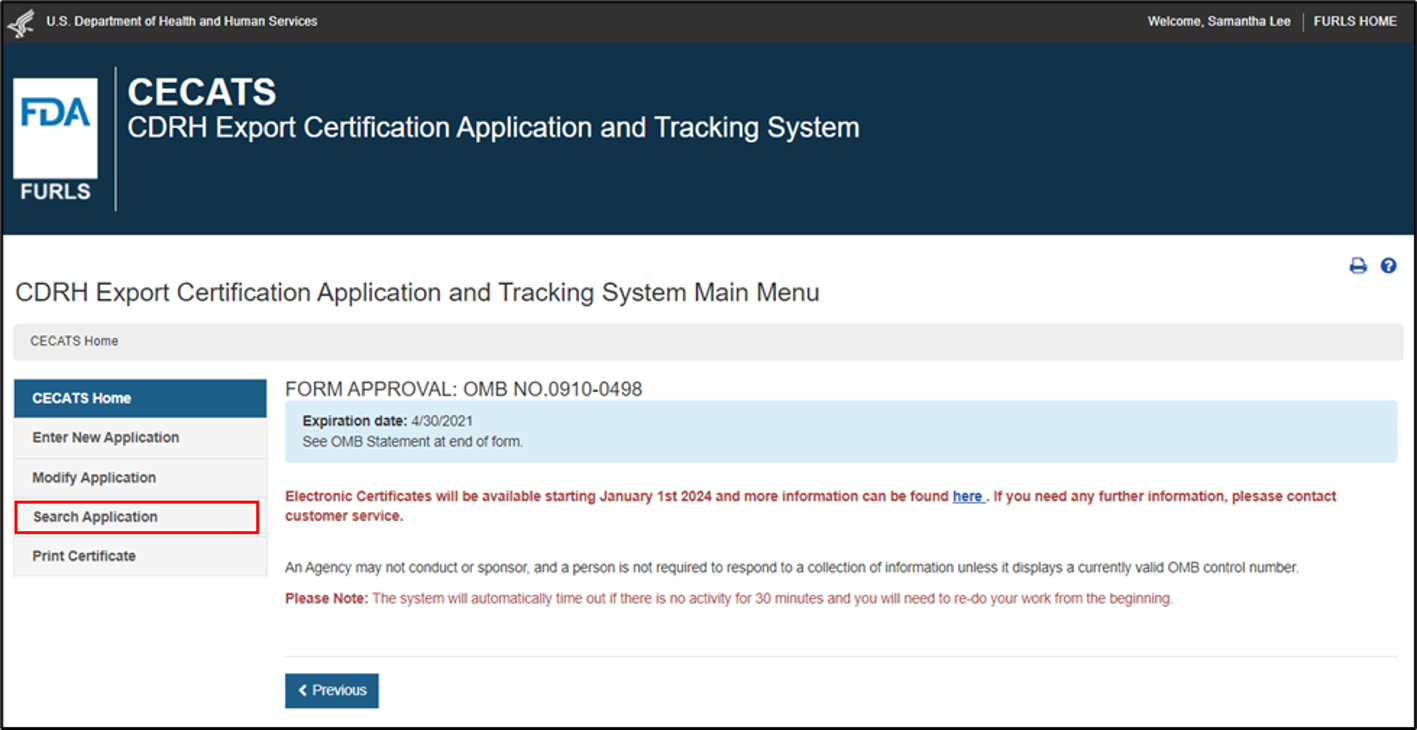
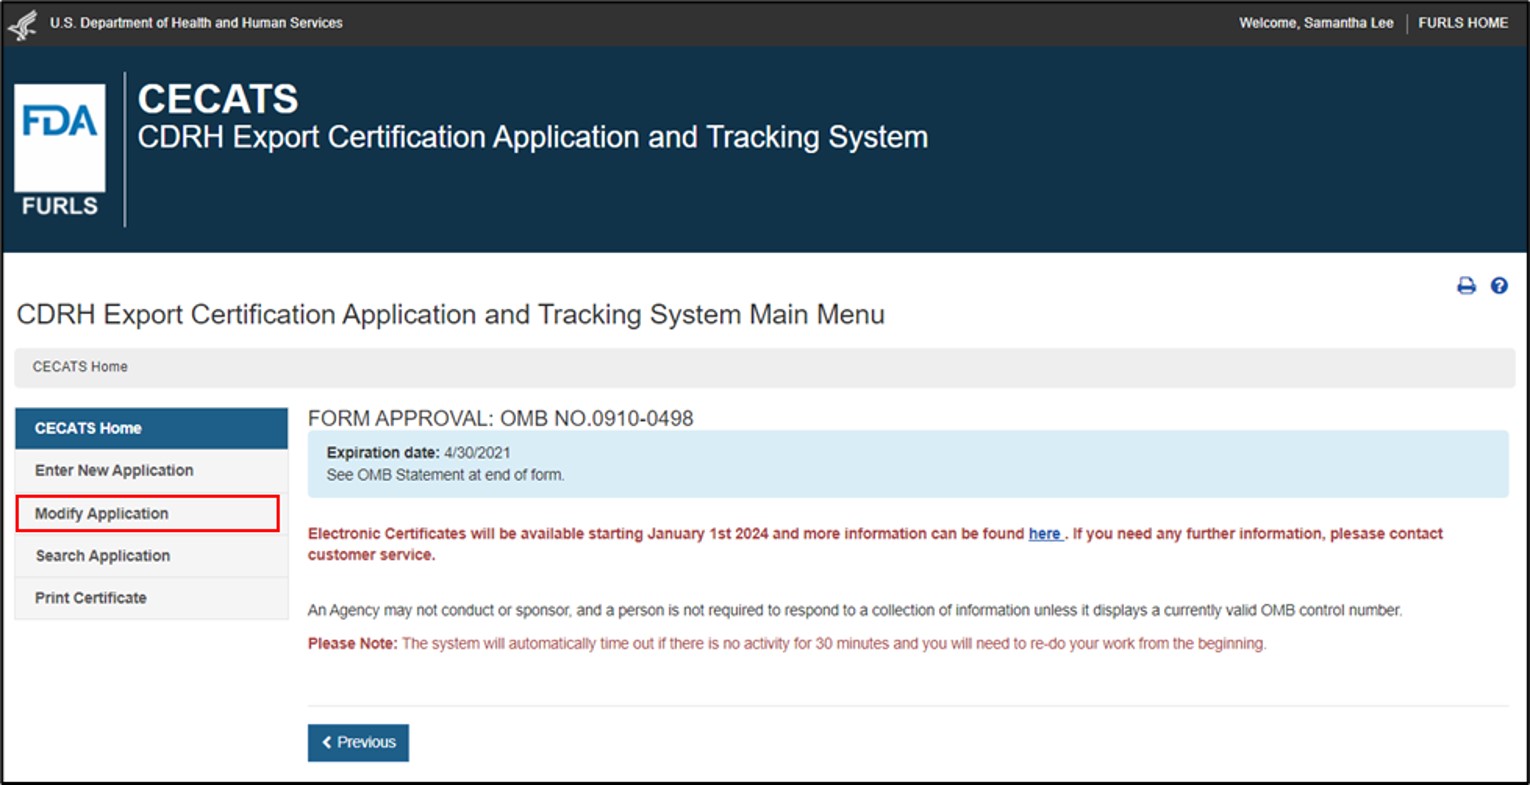
Select “Yes” in response to the question “Will the devices be exported from the United States?”. Select “Continue” and the system will open the CECATS “Home” page. The CECATS “Main Menu” page is shown in Figure 2 below
Figure 2: CECATS Main Menu
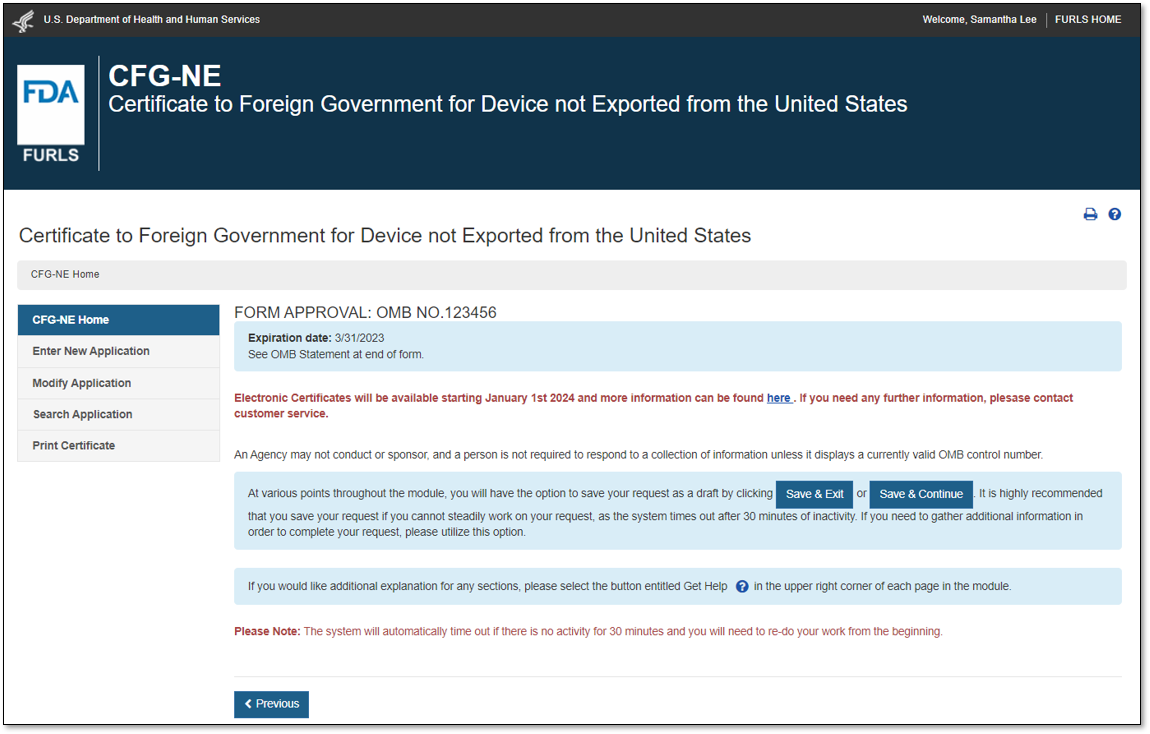
Select “No” in response to the question “Will the devices be exported from the United States?”. Select “Continue” and the system will open the CDNE “Home” page, as shown in Figure 3.
Figure 3: CDNE Home Page
2 Search for an Application
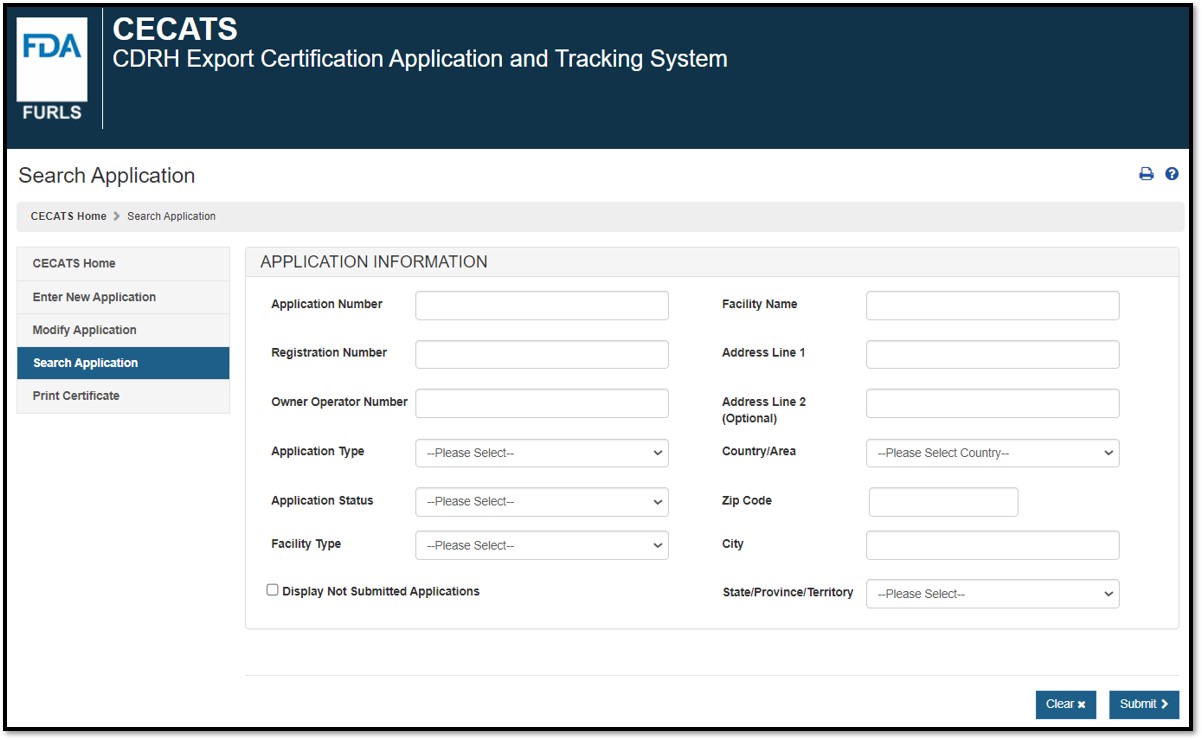
The "Search Application" option allows you to search your applications by various criteria. Once you have found the application you can modify, update the number of certificate requests, or print the application.
To search for an application, click "Search Application" menu option from the CECATS or CDNE "Home" page, as shown in Figure 4.
Figure 4: Search Application
NOTE: It is best to search by only one criterion. If you have the application number, only insert this information; it provides the most accurate search possible.
You can search using any or all of the
following fields as shown in Figure 5: Figure 5: Search Parameters The results corresponding to the search criteria will be displayed (Figure 6). NOTE: If your OAA account is an Enterprise-Level account, you will be able to search on all applications that pertain to your account and any sub-account applications. If your OAA account is a sub-account, you will only be able to search applications that pertain to your account. Figure 6: Search Results The "Application Number", "Submitted Date", "Status", and the "Application Type" will be displayed. If the application was not modified or corrected, the Submitted Date will be the same as the "Date of Application". You can use the up and down arrows in the column headings to sort the application list in ascending or descending order. To view an application, click on the View (eye)
icon To edit an application, select the Edit (pencil)
icon If the application is in Return for Action status, after selecting the Edit icon To clone the application, select the Clone (double book) icon The cloning feature allows a user to copy any submitted application. Once cloned, the user will have the ability to update any or all sections of the application prior to submission. NOTE: To clone an application, NOTE: If your list of applications becomes too large, the Search function is a viable option to quickly locate a specific application. You can also use Ctrl+F to search for the application while on the "Enter New Application" screen. Before submitting the application, click "Preview Certificate" to ensure the firm and device information appears as desired. When your application is ready for submission, click "Submit". Once submitted, you will receive an email stating your application was successfully submitted. NOTE: Please save the application number for future reference. The application number will be required to check the status of your application. Figure 7: Enter New Application
Select the "Modify Application" menu option from the CECATS or CDNE "Home" page, as shown in Figure 8. Figure 8: Modify Application
To address the FDA reviewer's comments identified in a return for action notification, select the "Modify Application" and select "Modify application based on a notification received" , as shown in Figure 9. Figure 9: Modify Application based on Notification Received A list of all applications that can be
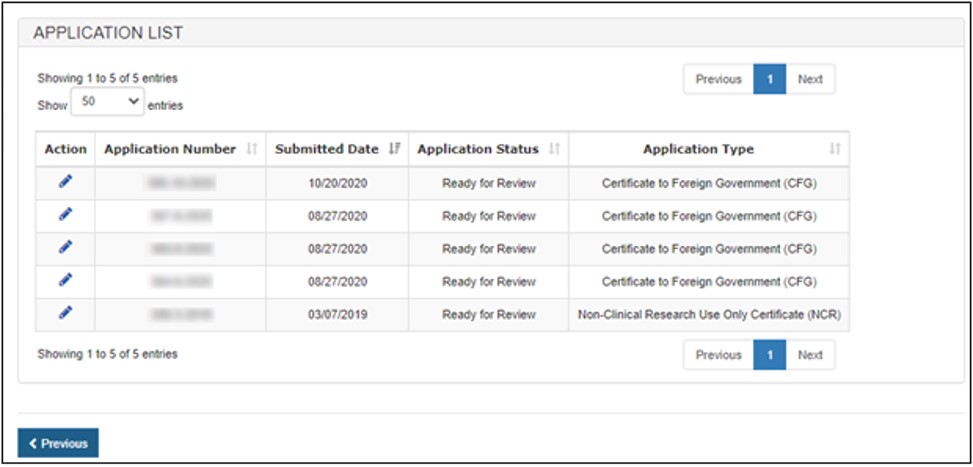
modified will be displayed, as shown in Figure 10. Select the appropriate application and click on the Edit icon Figure
10: Select an Application to Modify On the "Application Review" page, as shown in Figure 11, select the Edit icon Figure
11: CDNE Application Review Page
Search Results

2.1 View an Application
![]() next to the application number. Once the application is displayed, you can print a copy of the application.
next to the application number. Once the application is displayed, you can print a copy of the application.
2.2 Edit an Application
![]() .Applications may be edited while in Draft or Return for Action.
.Applications may be edited while in Draft or Return for Action.![]() Figure 9 is displayed and you can choose the appropriate modification to be performed. See the “Modify Application” or “Update Number of Certificates” sections below for additional information.
Figure 9 is displayed and you can choose the appropriate modification to be performed. See the “Modify Application” or “Update Number of Certificates” sections below for additional information. 2.3 Clone an Application
![]() . Refer to the "Clone an Application" section below for additional information.
. Refer to the "Clone an Application" section below for additional information.3 Clone an Application
![]() associated to the application number. All sections will be editable.
associated to the application number. All sections will be editable. 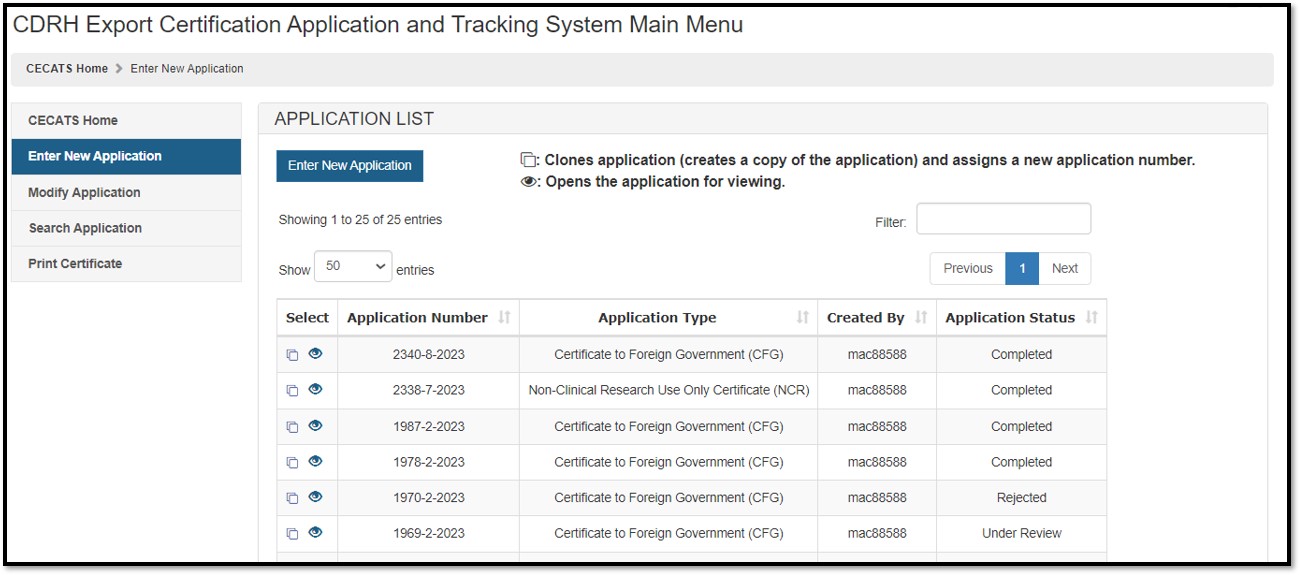
4 Modify a Submitted Application
4.1 Option 1: Modify Application based on Notification Received

![]()

![]() next to the section you wish to update. Continue through all sections and submit the application from the "Final Review" page.
next to the section you wish to update. Continue through all sections and submit the application from the "Final Review" page.

4.2 Option 2: Update the Number of Certificates
This option allows the number of certificates requested to be updated on an application that has already been submitted. However, in order to perform this update, the application must be in one of the following statuses:
- Received
- Ready for Review
- Return for Action
To change the number of certificates requested, select the "Modify Application" and select "Update the number of certificates" option as shown in Figure 12.
Figure 12: Update the Number of Certificates

A list of all applications that can be updated will display, as shown in Figure 13.
Figure
13: Select Application
Select the application to update on the "Final Review page" and click the Edit icon![]() next to the appropriate section, as shown in Figure 14. Once updated, submit the application from the "Final Review" page.
next to the appropriate section, as shown in Figure 14. Once updated, submit the application from the "Final Review" page.
Figure
14: Update Number of Certificate

4.3 Option 3: Cancel Application
This option allows an application to be cancelled. In order to cancel an application, the application must be in one of the following statuses:
- Received
- Ready for Review
- Return for Action
Select the "Modify Application" and select "Cancel Application", as shown in Figure 15.
Figure
15: Cancel the Application

NOTE: If an application is in "Under Review" or "Printing in Progress" status, contact the reviewer identified in the Under Review notification. Once the certificates are printed on the security paper, the application cannot be cancelled. You will be responsible for any cost associated to the issuance of the certificate(s) requested.
Once the application has been selected, as shown in Figure 16, a warning message will display prior to cancelling an application, as shown in Figure 17.
Figure
16: Cancel the Application – Application List

Figure
17: Cancel Warning Message

Once confirmed, the application is cancelled as shown in Figure 18 and an email notification will be sent.
Figure
18: Cancellation Success Message
